
In this day and age, tidiness and cleanliness have become more significant than any other time in recent memory. One of the essential items in our daily hygiene routine is hand soap. While there are various options available in the market, making your own foaming hand soap at home can be a cost-effective and fun alternative. In this article, we will guide you through the process of creating the No. 1 foaming hand soap in the comfort of your own home. Along these lines, we should make a plunge and figure out how to make this superb cleanser!
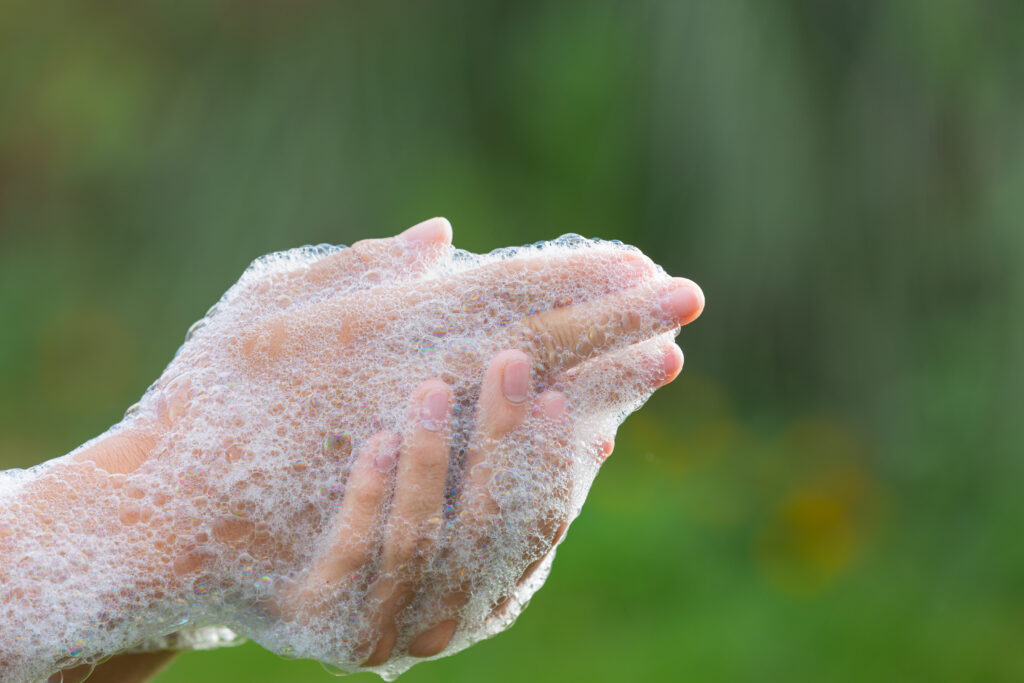
Table of Contents
Introduction: The Importance of Hand Hygiene
Hand cleanliness is urgent for keeping up with great wellbeing and forestalling the spread of microorganisms. Regular handwashing helps to eliminate harmful bacteria and viruses that we encounter in our day-to-day activities. By practicing proper hand hygiene, we reduce the risk of infections and promote overall well-being.
Understanding Foaming Hand Soap
Foaming hand soap is a popular choice for many households due to its convenient and efficient nature. Unlike traditional liquid hand soap, foaming hand soap comes out of the dispenser in a pre-lathered foam, which makes it easier to apply, rinse off, and reduces water usage. It provides a luxurious and refreshing handwashing experience.
Advantages of Making Your Own Frothing Hand Cleanser
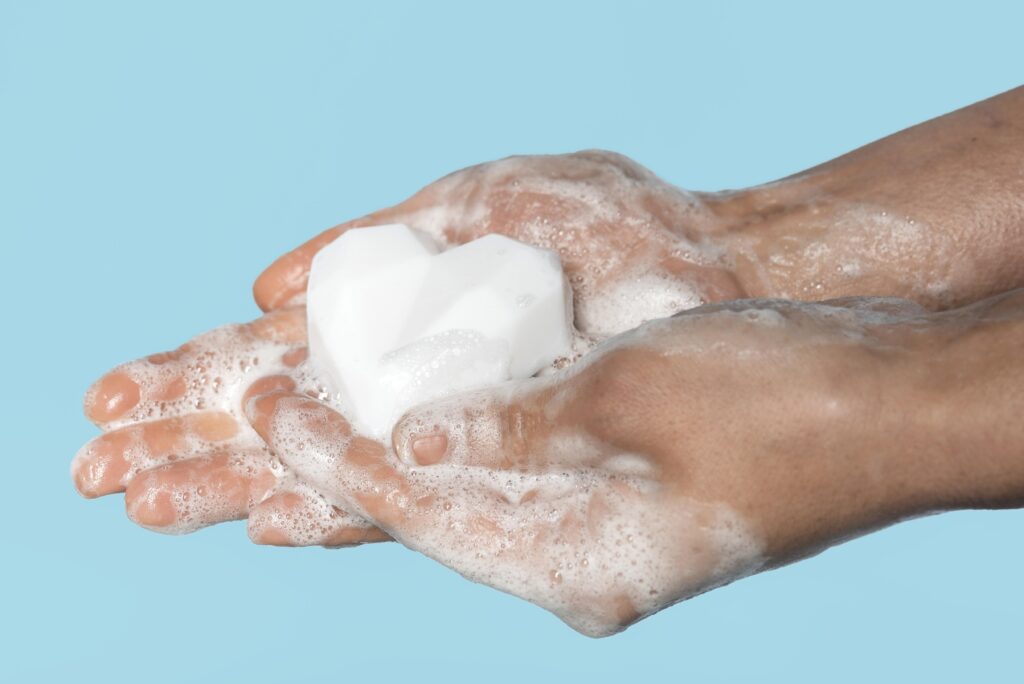
Creating your own foaming hand soap has several advantages. Firstly, it allows you to control the ingredients, ensuring that no harmful chemicals are present. Secondly, it is a cost-effective option as homemade soaps tend to be more affordable than store-bought alternatives. Lastly, making your own soap gives you the opportunity to customize the scent and properties according to your preferences.
Gather the Ingredients and Supplies
Before diving into the soap-making process, gather the following ingredients and supplies:
- Liquid soap base (mild and unscented)
- Distilled water
- Medicinal oils or scent oils of your decision
- Moisturizing ingredients (such as glycerin or aloe vera gel)
- Foaming soap dispenser
- Measuring cups and spoons
- Mixing bowl
- Funnel
Step-by-Step Guide to Making No. 1 Foaming Hand Soap
Step 1: Choose a Soap Base
Start by selecting a mild and unscented liquid soap base. Look for a soap that is free from harsh chemicals, as this will ensure a gentle and safe product for your hands.
Step 2: Dilute the Soap Base
In a mixing bowl, combine one part of the liquid soap base with three parts of distilled water. Stir gently until the mixture is well blended.
Step 3: Add Essential Oils or Fragrances
To create a pleasant aroma, add a few drops of your favorite essential oils or fragrance oils to the soap solution. Lavender, eucalyptus, or citrus aromas are famous decisions. Explore different avenues regarding various blends to track down your favored fragrance.
Step 4: Incorporate Moisturizing Ingredients
To prevent your hands from drying out, incorporate moisturizing ingredients into the soap solution. Glycerin and aloe vera gel are excellent options for maintaining soft and hydrated skin. Add a small amount (approximately one teaspoon) of the moisturizing ingredient to the mixture and stir well.
Step 5: Prepare the Foaming Dispenser
Clean and dry the foaming soap dispenser thoroughly. Ensure that it is free from any soap residue or previous solutions. A clean dispenser will prevent any clogs or issues with the foaming mechanism.
Step 6: Fill the Dispenser with the Soap Solution
Using a funnel, pour the soap solution into the foaming dispenser, leaving a small amount of space at the top to accommodate the foaming pump. Avoid overfilling the dispenser to prevent spills.
Customizing Your Foaming Hand Soap
Once you have mastered the basic recipe, you can customize your foaming hand soap according to your preferences. Here are a few ideas:
Adding Antibacterial Properties
If you prefer an antibacterial soap, consider incorporating natural antibacterial agents like tea tree oil or neem oil. These ingredients provide additional germ-fighting properties to your hand soap.
Experimenting with Different Scents and Essential Oils
Explore various essential oil combinations to create unique and refreshing scents. Consider adding a drop of peppermint oil for a cooling effect or lemongrass oil for an uplifting aroma.
Incorporating Natural Moisturizers
Besides glycerin and aloe vera gel, you can experiment with other natural moisturizers such as coconut oil or shea butter. These ingredients offer deep hydration and nourishment for your hands.
Proper Use and Storage of Foaming Hand Soap
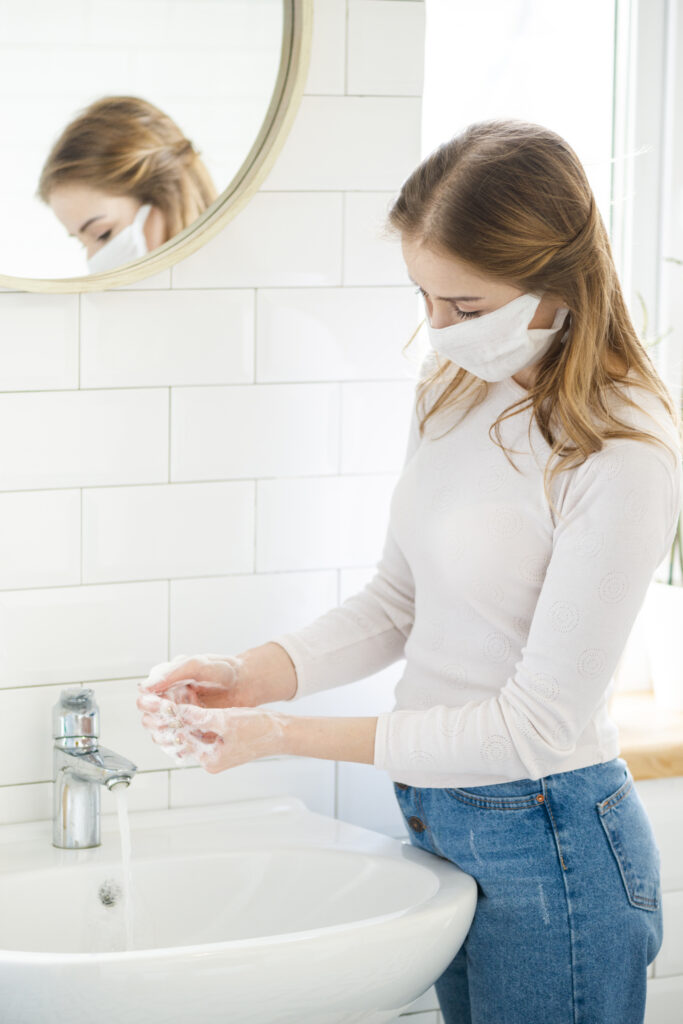
To ensure effective handwashing, follow these guidelines:
- Wet your hands with water.
- Pump a small amount of foaming hand soap onto your palm.
- Rub your hands together to create a lather, covering all surfaces.
- Continue rubbing for at least 20 seconds, paying attention to areas like the back of your hands, wrists, and between your fingers.
- Rinse your hands thoroughly with water.
- Dry your hands with a perfect towel or let them air dry.
Store your homemade foaming hand soap in a cool and dry place, away from direct sunlight. Proper storage helps to maintain the quality and effectiveness of the soap.
Conclusion
Making your own No. 1 foaming hand soap at home is a rewarding and practical endeavor. By following the simple steps outlined in this guide, you can create a personalized soap that not only cleans your hands effectively but also leaves them feeling soft and refreshed. Enjoy the process of customizing your soap with different scents and moisturizers, and embrace the benefits of a clean and happy handwashing experience.
Frequently Asked Questions (FAQs)
FAQ 1: Can I use regular hand soap in a foaming dispenser?
Foaming dispensers require a specific consistency to produce the foam effectively. Regular hand soap may be too thick and can clog the pump. It is recommended to use a mild and unscented liquid soap base specifically formulated for foaming dispensers.
FAQ 2: How long does homemade foaming hand soap last?
The shelf life of homemade foaming hand soap depends on the ingredients used. As a general guideline, it is best to use the soap within six months to ensure freshness and effectiveness. Check for any changes in color, consistency, or scent, and discard if the soap shows signs of spoilage.
FAQ 3: Can I use tap water to dilute the soap base?
Using distilled water is preferable for diluting the soap base, as tap water may contain impurities that can affect the quality and longevity of the soap. Distilled water ensures a purer and more stable soap solution.
FAQ 4: Are there any safety precautions when working with essential oils?
Essential oils are highly concentrated and should be handled with care. Before use, perform a patch test on a small area of skin to check for any allergic reactions. When adding essential oils to your soap solution, use the recommended amount and avoid direct contact with eyes or sensitive areas.
FAQ 5: Can I recycle the foaming dispenser?
Yes, foaming dispensers can be recycled. Before recycling, make sure to clean the dispenser thoroughly by rinsing it with water and removing any residual soap. Check your local recycling guidelines for the appropriate method of disposal.
Pingback: No.1 Breakthrough Face Wash for Acne : Your Path to Clear, Healthy Skin! - creativewebmania.com
Pingback: 10 Proven Hacks: The Proper Method for Cleaning Dirty Utensils Revealed! - CREATIVE WEB-MANIA
Pingback: Step Up to Rank 1 for your Cleaning Game: DIY Homemade Floor Cleaner Solutions - CREATIVE WEB-MANIA
Pingback: Unveiling No. 1 Effective Viral Gastroenteritis Treatment : Say Goodbye to Tummy Troubles - CREATIVE WEB-MANIA
Pingback: Navigating Life with a Water Allergy : Drips and Drops - Beyond H2O - CREATIVE WEB-MANIA
Can you be more specific about the content of your article? After reading it, I still have some doubts. Hope you can help me.