

Table of Contents : How to Make Body Lotion at Home
Introduction:
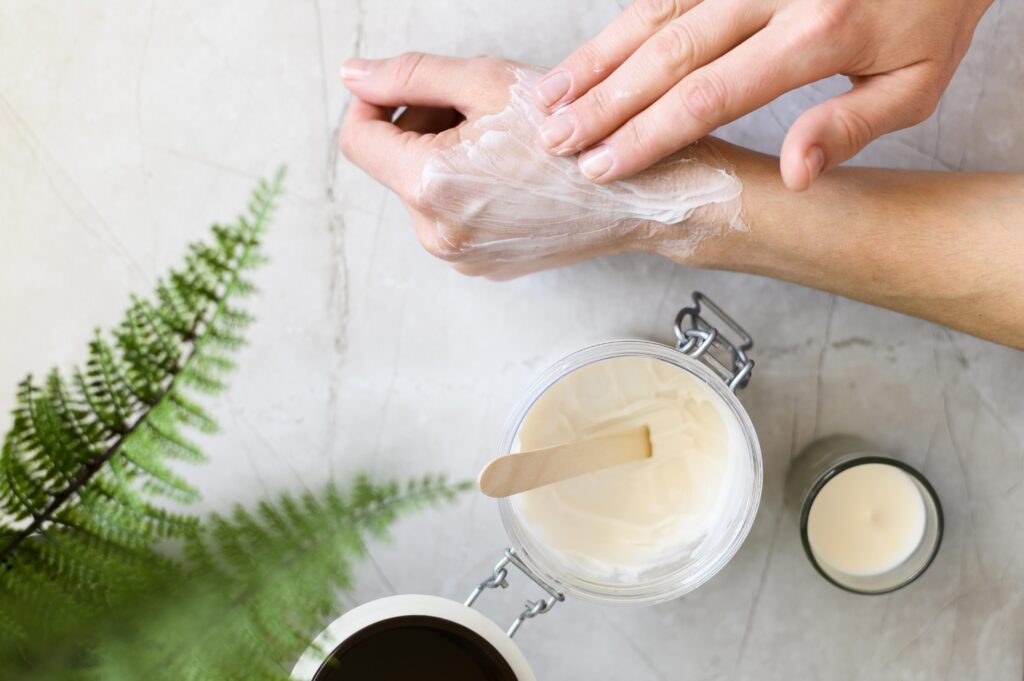
In the present quick moving world, disregarding the significance of taking care of oneself is simple. Our skin, being the biggest organ, merits some additional consideration, and what preferable method for treating it over with a natively constructed body salve? Besides the fact that it saves you an excursion to the store, yet it likewise permits you to control the fixings, guaranteeing a customized touch for your skin’s novel requirements. Go along with me on this brilliant excursion of making a sustaining body cream at home.
Understanding the Basics
Before we plunge into the tomfoolery part, we should grasp the fundamental parts of a body moisturizer. An ordinary moisturizer comprises of three key fixings: water, oil, and an emulsifier. Water hydrates the skin, oils give sustenance, and the emulsifier helps mix the two consistently. Presently, how about we investigate the magnificent universe of natively constructed creams!
Ingredients : How to Make Body Lotion at Home
Before we embark on our homemade body lotion adventure, let’s gather the ingredients that will transform your skin into a haven of moisture and softness:
Base Oils:
Coconut oil: renowned for its deep moisturizing properties.
Almond oil: a lightweight oil rich in vitamins and minerals.
Jojoba oil: mimics the skin’s natural oils, providing balance.
Emulsifiers:
Beeswax: a natural emulsifier that helps bind water and oil.
Hydrosols:
Rose water: known for its calming and hydrating properties.
Aloe vera gel: a soothing agent that promotes skin healing.
Essential Oils:
Lavender: promotes relaxation and has skin-nourishing qualities.
Chamomile: reduces inflammation and soothes irritated skin.
Sweet orange: adds a refreshing and uplifting fragrance.
Vitamin E Oil:
An antioxidant that helps extend the shelf life of your lotion.
Step-by-step process of creating your own body lotion
Now that we have our arsenal of ingredients, let’s dive into the step-by-step process of creating your very own luxurious body lotion.
Step 1: Choose Your Base Oils Wisely
Start by choosing your favored mix of base oils. Coconut oil brings profound dampness, almond oil gives fundamental supplements, and jojoba oil directs your skin’s regular oil creation. Join these in a bowl, guaranteeing an amicable mix that takes special care of your skin’s extraordinary necessities.
Step 2: Embrace the Power of Beeswax
Bring beeswax in with the general mish-mash as a characteristic emulsifier. Soften the beeswax in a twofold heater until it turns into a fluid. This step is vital, as it permits the oils and water-based fixings to tie together flawlessly, bringing about a steady and compelling body moisturizer.
Step 3: Infuse with Hydrosols
Now, it’s time to add a touch of hydration with the incorporation of hydrosols. Rose water and aloe vera gel not only provide additional moisture but also bring a hint of natural fragrance and soothing properties to your body lotion. Slowly incorporate these ingredients into your melted beeswax and oil mixture, stirring gently to ensure even distribution.

Step 4: A Symphony of Essential Oils
Enhance the sensory experience of your homemade body lotion by carefully selecting essential oils. Lavender promotes relaxation, chamomile soothes irritated skin, and sweet orange adds a burst of refreshing fragrance. Blend these oils according to your preference, keeping in mind their therapeutic benefits.
Step 5: Preserve and Prolong with Vitamin E
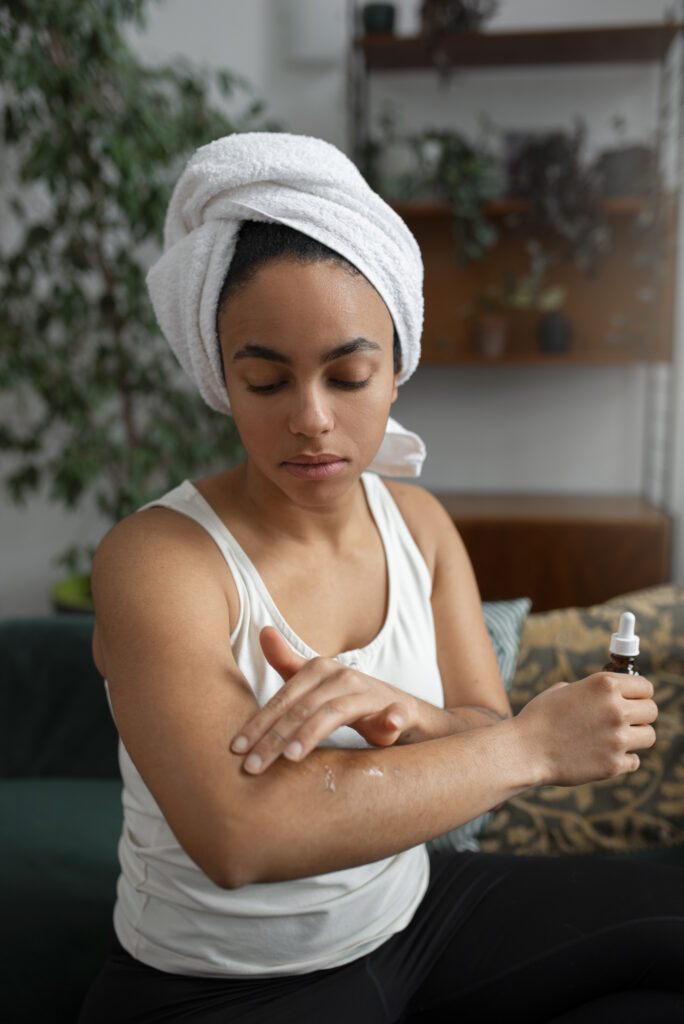
Introduce a few drops of vitamin E oil into your concoction. Vitamin E not only acts as a powerful antioxidant, protecting your lotion from premature spoilage, but it also contributes to your skin’s overall health and vitality.
Step 6: Whisk and Watch the Magic Unfold
With all ingredients harmoniously combined, use a whisk to blend your lotion thoroughly. Witness the transformation as the mixture takes on a creamy, velvety texture. This step is where the magic happens, turning a collection of natural ingredients into a nourishing elixir for your skin.
Step 7: Test and Adjust
Prior to restraining your natively constructed body cream, play out a fix test on a little region of your skin to guarantee similarity. If necessary, change the medicinal balm proportions or change the surface by adding more hydrosols or oils until you accomplish the ideal consistency.
Step 8: Bottling Up Bliss
Now that your body cream is culminated, now is the right time to move it into spotless, water/air proof compartments. Choose dull glass compartments to safeguard the respectability of the fixings and store your moisturizer in a cool, dry spot.
Chapter 4: Personalize Your Potion
One of the delights of making body salve at home is the capacity to fit it to your inclinations. Explore different avenues regarding different rejuvenating oils to find the ideal fragrance that impacts you. Lavender is known for its quieting properties, while citrus oils can animate your faculties. The decision is yours!
Chapter 5: Tips for Success
- Be Patient: Allowing the lotion to cool completely ensures a better consistency.
- Container Matters: Use a dark or opaque container to protect the lotion from light, preserving its potency.
- Test and Adjust: If the lotion is too thick, add a bit more water. If it’s too thin, a touch more beeswax will do the trick.

Chapter 6: Benefits Beyond Beauty
Aside from the joy of creating your own skincare products, homemade body lotion offers additional benefits. It reduces your environmental impact by eliminating the need for excessive packaging and reduces exposure to harmful chemicals found in some commercial lotions. Plus, the process itself can be a therapeutic and creative outlet.
Chapter 7: Share the Love
Once you’ve mastered the art of making body lotion at home, why not share the love with friends and family? Craft a batch as a thoughtful gift, complete with a personalized label and instructions for use. Your loved ones will appreciate the effort and the nourishment your homemade lotion provides.
Exploring the Benefits of Homemade Body Lotion
As you revel in the silky embrace of your homemade body lotion, it’s essential to understand the myriad benefits it brings to your skin. Unlike commercial counterparts laden with synthetic additives, your DIY creation is a powerhouse of natural goodness.
Tailored to Your Skin’s Needs: By handpicking each ingredient, you’ve crafted a lotion uniquely suited to your skin type. Whether your skin craves deep hydration, soothing relief, or a burst of vitamins, your homemade lotion caters to those specific needs.
Free from Harmful Additives: Commercial body lotions often contain preservatives, fragrances, and other synthetic additives that may irritate the skin. Your homemade version, devoid of such harmful elements, minimizes the risk of adverse reactions, making it an excellent choice for sensitive skin.
Eco-Friendly Beauty: Embrace sustainability by crafting your own skincare products. By using reusable containers and consciously selecting natural, biodegradable ingredients, you’re contributing to a healthier planet while pampering your skin.
Cost-Effective Beauty Ritual: Creating your body lotion at home not only ensures a personalized skincare routine but also saves you from the recurring expense of purchasing commercial products. The initial investment in quality ingredients pays off in the long run, offering you a cost-effective approach to radiant skin.

Tips for Crafting the Perfect Body Lotion:
Now that you’ve mastered the art of making body lotion at home, let’s explore some additional tips to elevate your skincare crafting game:
Experiment with Ingredients: Don’t be afraid to experiment with different oils, hydrosols, and essential oils. Each ingredient brings unique benefits, and finding the perfect combination is a delightful journey of self-discovery.
Mindful Storage: Preserve the efficacy of your homemade lotion by storing it in a cool, dark place away from direct sunlight. This helps maintain the integrity of the natural ingredients and extends the shelf life of your creation.
Consistency is Key: Achieving the ideal consistency is a matter of personal preference. If your lotion feels too thick, add more hydrosols; if it’s too thin, incorporate additional oils. Tweak the recipe until you discover the perfect texture for your skin.
Customize for the Seasons: Adjust your body lotion recipe based on the changing seasons. In colder months, consider incorporating heavier oils for extra hydration, while lighter formulations may be preferred during warmer weather.
Share the Love: The joy of crafting your body lotion becomes even more fulfilling when shared with friends and family. Consider gifting your creations, spreading the love for homemade skincare within your community.
Taking Your Skincare Journey Further:
Now that you’ve mastered the basics of creating your own body lotion, why not explore additional avenues of DIY skincare? The world of homemade beauty products is vast and offers a myriad of possibilities to pamper and indulge your skin. Here are a few ideas to take your skincare journey to the next level:
Luxurious Body Scrubs: Lift your taking care of oneself daily practice by devising liberal body scours. Consolidate fixings like earthy colored sugar, coconut oil, and a smidgen of your #1 natural ointment to make a delicate exfoliant that leaves your skin feeling sleek.
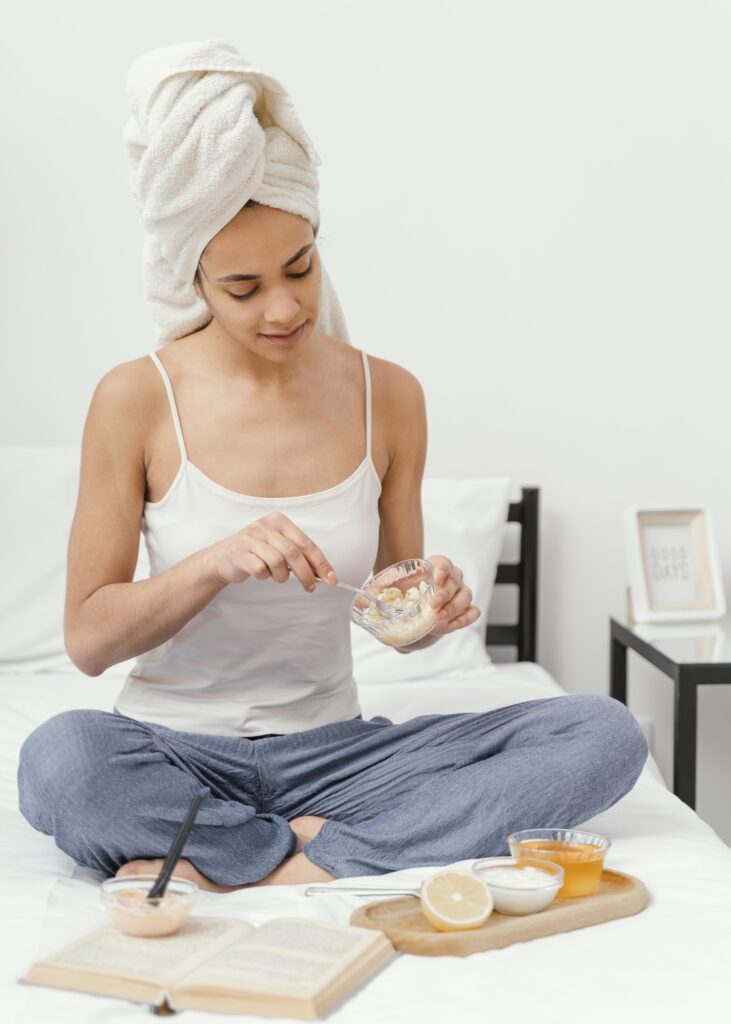
Soothing Face Masks: Dig into the universe of natively constructed facial coverings custom-made to address your skin’s particular requirements. From hydrating avocado veils to relieving yogurt and honey creations, the potential outcomes are unfathomable. Explore different avenues regarding regular fixings to find the ideal cover for your skin type.
Revitalizing Bath Bombs: Transform your bath time into a spa-like experience with DIY bath bombs. Mix baking soda, citric acid, Epsom salts, and a touch of essential oil for a fizzy, aromatic treat that relaxes your body and mind.
Nourishing Lip Balms: Extend your skincare routine to include homemade lip balms. Craft a blend of beeswax, coconut oil, and a hint of honey for luscious, moisturized lips. Customize the flavor with a drop of your favorite essential oil.
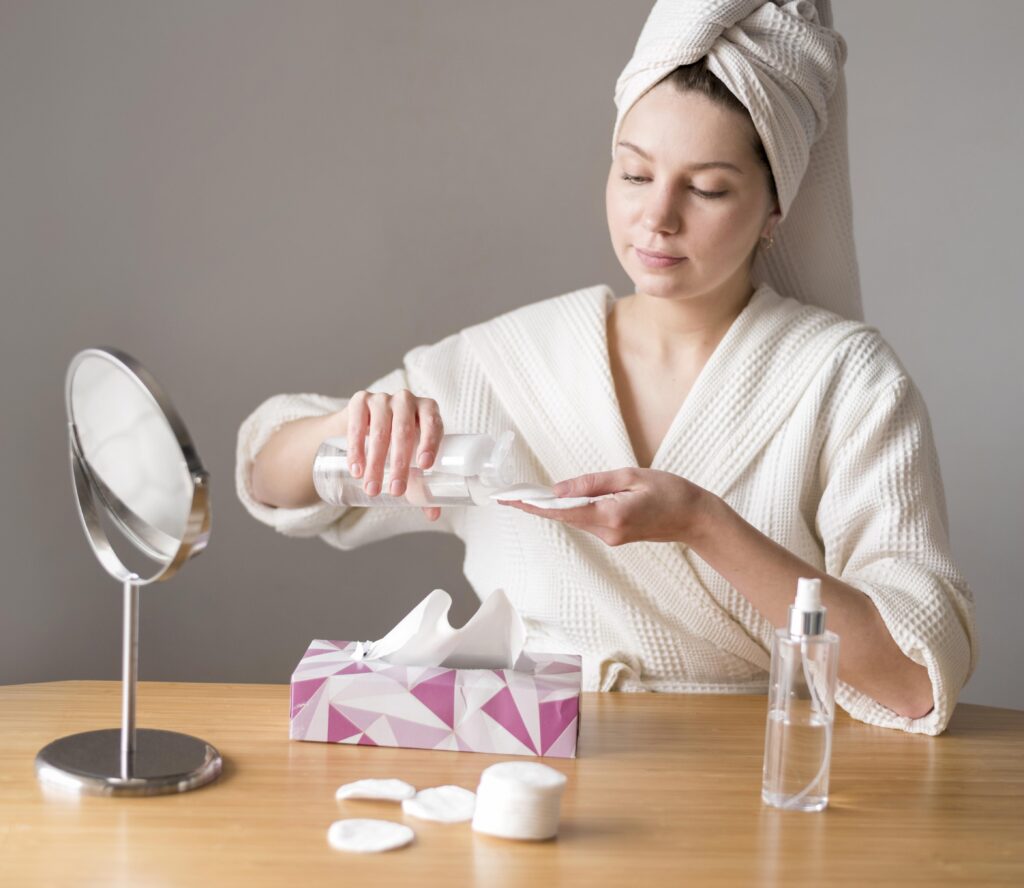
Refreshing Facial Toners: Explore the world of homemade toners to complete your skincare routine. Witch hazel, aloe vera, and a splash of rose water can create a refreshing toner that helps balance your skin’s pH and tighten pores.
Sharing the Journey:
As you keep on trying different things with hand crafted skincare, consider making a diary to record your recipes, encounters, and the outcomes on your skin. This fills in as an individual record as well as be a significant asset for loved ones hoping to set out on their own skincare process.
Moreover, joining on the web networks or neighborhood bunches devoted to Do-It-Yourself skincare permits you to share tips, recipes, and bits of knowledge with similar people. The aggregate insight of such networks can be a rich wellspring of motivation for growing your hand crafted skincare collection.
Embracing a Holistic Approach:
Beyond the concoction of creams and balms, remember that skincare is a holistic endeavor that involves lifestyle choices. Stay hydrated, maintain a balanced diet rich in vitamins and antioxidants, and protect your skin from harmful UV rays. These practices complement your DIY skincare routine, ensuring that your skin receives comprehensive care from both inside and out.
Mindful Water Usage: Be conscious of the water used in your skincare routine. Turn off taps when not in use, and consider incorporating water-saving practices into your beauty rituals. This small step can have a significant impact on conserving this precious resource.
DIY Beauty as a Lifestyle: Extend the principles of sustainability beyond your skincare creations. Embrace a holistic lifestyle that values conscious consumption, minimalism, and eco-friendly choices. Your journey towards radiant skin can align seamlessly with a commitment to a healthier planet.
Therapeutic Crafting: The process of making your own skincare products can be therapeutic. It provides a mindful escape from the hustle and bustle of daily life. As you measure, mix, and blend, savor the calming ritual of creating something special for yourself.
Empowerment Through Knowledge: Understanding the fixings in your skincare items enables you to pursue informed decisions about what you put on your skin. This information improves your relationship with your skincare schedule, changing it from an ordinary undertaking into an intentional demonstration of confidence.
Conclusion:
Congrats! You’ve recently set out on an excursion to make your own personal body moisturizer at home, made with adoration and customized to meet the one of a kind requirements of your skin. Embrace the delight of getting your skin the decency of normal fixings, and revel in the fulfillment of making a skincare work of art that mirrors your obligation to taking care of oneself. As you enjoy the velvety hug of your natively constructed body salve, let the brilliant sparkle of your skin be a demonstration of the excellence that can be developed squarely in your own kitchen.
Frequently Asked Questions: Navigating the Lotion-Making Journey
Q1: Can I use other oils not mentioned in the recipe?
Absolutely! The beauty of making your own lotion is the freedom to experiment. Feel free to explore oils like olive, argan, or avocado, adjusting the recipe to suit your skin’s preferences.
Q2: How long does the lotion last?
Without preservatives, homemade lotions typically have a shelf life of about 2-3 months. Adding a natural preservative can extend this period. Keep an eye (and nose) on your lotion, and if it changes color or smell, it’s time to bid it farewell.
Q3: Can I customize the fragrance further?
Certainly! Essential oils are your aromatic palette. Mix and match to create your signature scent. Just be mindful of the potency, as some oils can be overpowering in larger quantities.
Q4: My lotion turned out too thick. Can I fix it?
Of course! Adjust the consistency by adding a bit more hydrosol or distilled water until you reach your desired texture. The beauty of DIY is the ability to tailor each batch to perfection.
Q5: Is it safe to use on sensitive skin?
Homemade lotions can be gentler on sensitive skin compared to commercial products filled with synthetic ingredients. However, it’s always wise to do a patch test before slathering it all over. If irritation occurs, you may need to tweak the recipe or opt for different ingredients.
A Symphony of Self-Care : How to Make Body Lotion at Home
Crafting your body lotion at home is not just a skincare routine; it’s a symphony of self-care. Each ingredient plays a note, and together they create a beautiful melody that resonates with your skin and senses. So, embrace the gentle art of homemade lotions, let your creativity flow, and revel in the radiant results. Your skin will thank you for the tender, loving care it receives from your very own crafted creation. Happy lotion-making!
You can also check : Fun and No. 1 Effective Butt Workouts at Home : Sculpting Your Glutes
I do trust all the ideas youve presented in your post They are really convincing and will definitely work Nonetheless the posts are too short for newbies May just you please lengthen them a bit from next time Thank you for the post
Expressing gratitude for the positive and thoughtful comments on my blog is both heartwarming and encouraging. Your kind words not only brighten my day but also motivate me to continue sharing content that resonates with you. Thank you for taking the time to read my posts. Your comments are greatly appreciated and inspire me to keep writing and sharing my thoughts and ideas.
I simply could not go away your web site prior to suggesting that I really enjoyed the standard info a person supply on your guests Is going to be back incessantly to investigate crosscheck new posts
Expressing gratitude for the positive and thoughtful comments on my blog is both heartwarming and encouraging. Your kind words not only brighten my day but also motivate me to continue sharing content that resonates with you. Thank you for taking the time to read my posts. Your comments are greatly appreciated and inspire me to keep writing and sharing my thoughts and ideas
Hi i think that i saw you visited my web site thus i came to Return the favore I am attempting to find things to improve my web siteI suppose its ok to use some of your ideas
I appreciate your time spent reading my blog. Your engagement means a lot, and I hope you found the content enjoyable and insightful. Thank you for being a reader!
Thanks I have just been looking for information about this subject for a long time and yours is the best Ive discovered till now However what in regards to the bottom line Are you certain in regards to the supply
I appreciate your time spent reading my blog. Your engagement means a lot, and I hope you found the content enjoyable and insightful. Thank you for being a reader!